

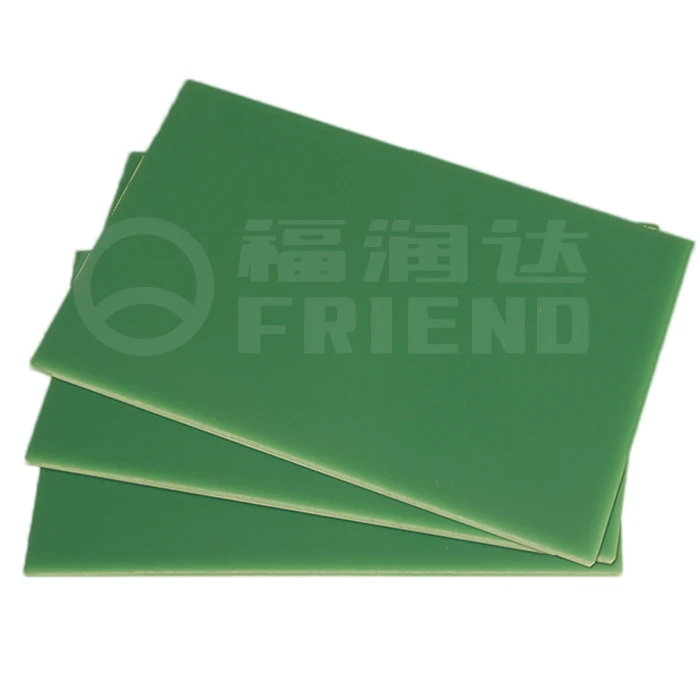
Epoxy UL coatings are renowned for their durability, chemical resistance, and high-performance properties, making them a popular choice across various industries. However, like any material, they can sustain damage over time due to factors such as abrasion, chemical exposure, or mechanical stress. As a leading supplier of Epoxy UL products, including F881 (FR4) (UL Certification) Epoxy Glass Fabric Laminated Sheets, F882 (G11) Epoxy Glass Fabric Laminated Sheets, and F883 (FR5) Epoxy Glass Fabric Laminated Sheets, I understand the importance of being able to repair damaged coatings effectively. In this blog post, I'll guide you through the process of repairing a damaged Epoxy UL coating, step by step.
Step 1: Assess the Damage
The first step in repairing a damaged Epoxy UL coating is to assess the extent and nature of the damage. This involves closely examining the affected area to determine whether the damage is superficial, such as scratches or minor abrasions, or more severe, such as deep gouges or delamination. Superficial damage can often be repaired with simple surface treatments, while more severe damage may require more extensive repairs.
Use a magnifying glass or a bright light to inspect the damaged area carefully. Look for signs of cracking, peeling, or discoloration, as these can indicate underlying issues that need to be addressed. It's also important to note the location of the damage, as this can affect the repair process. For example, damage in high-traffic areas or areas exposed to chemicals may require a more durable repair solution.
Step 2: Prepare the Surface
Once you've assessed the damage, the next step is to prepare the surface for repair. This involves cleaning the damaged area thoroughly to remove any dirt, debris, or contaminants that could interfere with the repair process. Use a mild detergent and water to clean the surface, and then rinse it thoroughly with clean water. Allow the surface to dry completely before proceeding.

After cleaning the surface, you may need to sand the damaged area to create a rough surface for the repair material to adhere to. Use a fine-grit sandpaper to sand the area gently, being careful not to damage the surrounding coating. Wipe away any dust or debris generated by sanding with a clean, dry cloth.
Step 3: Choose the Right Repair Material
Selecting the right repair material is crucial for a successful repair. The repair material should be compatible with the existing Epoxy UL coating and have similar properties, such as chemical resistance, durability, and adhesion. As an Epoxy UL supplier, I can recommend the best repair materials for your specific application.
There are several types of repair materials available for Epoxy UL coatings, including epoxy resins, fillers, and adhesives. Epoxy resins are commonly used for repairing small to medium-sized damages, as they can be easily mixed and applied to the damaged area. Fillers are used to fill in deep gouges or holes, while adhesives are used to bond the repair material to the existing coating.
Step 4: Apply the Repair Material
Once you've chosen the right repair material, it's time to apply it to the damaged area. Follow the manufacturer's instructions carefully when mixing and applying the repair material, as improper application can result in a poor-quality repair.
For small to medium-sized damages, you can use a putty knife or a brush to apply the repair material to the damaged area. Make sure to fill the damaged area completely and smooth the surface of the repair material to match the surrounding coating. For larger damages, you may need to use a trowel or a roller to apply the repair material evenly.
After applying the repair material, allow it to cure according to the manufacturer's instructions. This may take several hours or even days, depending on the type of repair material and the environmental conditions. During the curing process, make sure to keep the repaired area clean and dry to prevent any contamination.
Step 5: Finish the Repair
Once the repair material has cured, the final step is to finish the repair. This involves sanding the repaired area gently to smooth out any rough edges or bumps and to blend the repair material with the surrounding coating. Use a fine-grit sandpaper to sand the area carefully, being careful not to damage the surrounding coating.
After sanding, clean the repaired area again to remove any dust or debris generated by sanding. You may also need to apply a topcoat or a sealer to the repaired area to protect it from further damage and to enhance its appearance. Choose a topcoat or a sealer that is compatible with the existing Epoxy UL coating and the repair material.
Tips for a Successful Repair
- Follow the Manufacturer's Instructions: Always follow the manufacturer's instructions when using repair materials and tools. This will ensure that the repair is done correctly and that the repair material performs as expected.
- Test the Repair Material: Before applying the repair material to the damaged area, test it on a small, inconspicuous area to ensure that it is compatible with the existing coating and that it produces the desired results.
- Use the Right Tools: Use the right tools for the job, such as sandpaper, putty knives, brushes, and rollers. Using the wrong tools can result in a poor-quality repair and may damage the surrounding coating.
- Work in a Well-Ventilated Area: When working with repair materials, make sure to work in a well-ventilated area to avoid inhaling any fumes or vapors. Wear appropriate personal protective equipment, such as gloves and a respirator, to protect yourself from exposure to chemicals.
- Be Patient: Repairing a damaged Epoxy UL coating takes time and patience. Don't rush the process, and make sure to allow the repair material to cure completely before using the coated surface.
Conclusion
Repairing a damaged Epoxy UL coating is a relatively straightforward process that can be done by following the steps outlined in this blog post. By assessing the damage, preparing the surface, choosing the right repair material, applying the repair material correctly, and finishing the repair, you can restore the damaged coating to its original condition and extend its lifespan.
As an Epoxy UL supplier, I'm committed to providing high-quality products and excellent customer service. If you have any questions or need further assistance with repairing a damaged Epoxy UL coating, please don't hesitate to contact me. I'm here to help you find the best solutions for your specific needs. Whether you're looking for repair materials, technical support, or advice on the best practices for coating maintenance, I can provide you with the expertise and resources you need.
If you're interested in purchasing Epoxy UL products or have any inquiries about our offerings, such as F881 (FR4) (UL Certification) Epoxy Glass Fabric Laminated Sheets, F882 (G11) Epoxy Glass Fabric Laminated Sheets, or F883 (FR5) Epoxy Glass Fabric Laminated Sheets, feel free to reach out to me. I'm eager to engage in a discussion about your requirements and explore how our products can meet your expectations.
References
- Epoxy Coating Handbook, [Publisher], [Year]
- Guide to Coating Repair and Maintenance, [Author], [Year]
- Technical Data Sheets for Epoxy UL Products, [Manufacturer], [Year]