

Hey there! I'm a supplier of special fiber laminates, and I'm super excited to take you behind the scenes of how these amazing materials are manufactured. Special fiber laminates are used in a wide range of industries, from aerospace to electronics, because of their unique properties like high strength, light weight, and excellent electrical insulation. So, let's dive right in!
The Basics of Special Fiber Laminates
Before we get into the manufacturing process, let's quickly talk about what special fiber laminates are. They're basically composite materials made by stacking layers of fibers (like glass, carbon, or aramid) and resin together. The fibers provide the strength and stiffness, while the resin holds everything together and transfers the loads between the fibers.
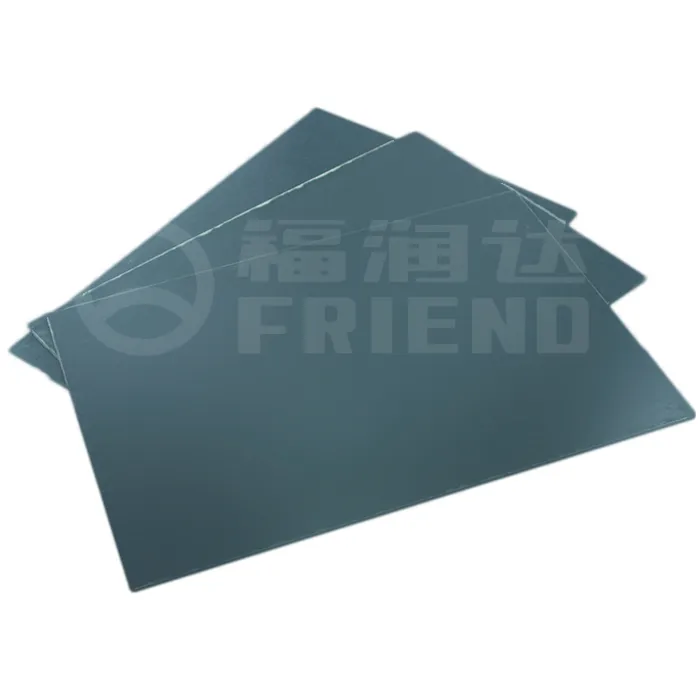
There are different types of special fiber laminates, each with its own set of properties and applications. For example, the F897 (Magnetic) Magnetic Laminate is designed for applications where magnetic properties are required, like in some electronic devices. The F828 (CEM-1) is a popular choice for printed circuit boards because of its good electrical insulation and mechanical properties. And the F862 (EPGM306) Epoxy Glass Mat Products are used in various industries for their high strength and chemical resistance.
Step 1: Fiber Selection
The first step in manufacturing special fiber laminates is selecting the right fibers. The choice of fibers depends on the specific requirements of the final product. For example, if you need a laminate with high strength and stiffness, carbon fibers might be a good choice. They're super strong and lightweight, making them ideal for aerospace and automotive applications.
On the other hand, glass fibers are more commonly used because they're relatively inexpensive and have good electrical insulation properties. Aramid fibers, like Kevlar, are known for their high impact resistance and are often used in bulletproof vests and other protective equipment.
Once the fibers are selected, they're usually processed to remove any impurities and to improve their surface properties. This can involve treatments like sizing, which helps the fibers bond better with the resin.
Step 2: Resin Preparation
The next step is preparing the resin. The resin is the matrix that holds the fibers together and gives the laminate its shape and properties. There are different types of resins available, such as epoxy, polyester, and phenolic resins.
Epoxy resins are very popular because they have good adhesion to the fibers, high strength, and excellent chemical resistance. Polyester resins are more affordable and are often used in applications where cost is a major factor. Phenolic resins are known for their high heat resistance and are used in applications like brake pads and electrical insulators.
To prepare the resin, it's usually mixed with a hardener or curing agent. The ratio of the resin to the hardener is very important, as it determines the curing time and the final properties of the laminate. The resin mixture is then usually degassed to remove any air bubbles, which could weaken the final product.
Step 3: Fiber Impregnation
Now it's time to combine the fibers and the resin. This process is called fiber impregnation, and there are a few different methods to do it. One common method is called wet lay-up. In this method, the fibers are laid out on a mold, and the resin is then applied to the fibers using a brush or a roller. This method is relatively simple and inexpensive, but it can be a bit messy and time-consuming.
Another method is called prepreg manufacturing. In this method, the fibers are pre-impregnated with the resin in a controlled environment. The prepreg sheets are then stored in a freezer until they're ready to be used. When it's time to make the laminate, the prepreg sheets are laid up on a mold and cured under heat and pressure. This method gives more consistent results and is often used in high-quality applications.

Step 4: Lay-Up and Stacking
Once the fibers are impregnated with the resin, the next step is to lay up and stack the layers of the laminate. The orientation of the fibers in each layer is very important, as it affects the mechanical properties of the final product. For example, if you want a laminate with high strength in a particular direction, you can orient the fibers in that direction.
The layers are usually stacked in a specific sequence, depending on the design requirements. This can involve alternating the fiber orientation between layers or using different types of fibers in different layers. The layers are then carefully aligned and pressed together to remove any air gaps and to ensure good adhesion between the layers.
Step 5: Curing
After the lay-up and stacking, the laminate needs to be cured. Curing is the process of hardening the resin and bonding the layers together. There are different ways to cure the laminate, depending on the type of resin used.
For some resins, like epoxy resins, curing can be done at room temperature. However, for better results, it's often done under heat and pressure. This can be done using an autoclave, which is a large pressure vessel that can apply both heat and pressure to the laminate. The curing process usually takes a few hours, depending on the thickness of the laminate and the type of resin.
During the curing process, the resin undergoes a chemical reaction that causes it to harden and form a strong bond with the fibers. It's important to control the curing temperature and time carefully, as over-curing or under-curing can affect the properties of the final product.
Step 6: Post-Curing and Finishing
Once the laminate is cured, it might need some post-curing to improve its properties further. Post-curing involves heating the laminate at a higher temperature for a certain period of time. This can help to complete the curing process and to improve the strength and heat resistance of the laminate.
After post-curing, the laminate is usually trimmed and finished to the desired shape and size. This can involve cutting, sanding, or machining the laminate. The edges of the laminate might also be treated to prevent delamination and to improve its appearance.
Quality Control
Throughout the manufacturing process, quality control is very important. This involves testing the fibers, the resin, and the final laminate to ensure that they meet the required specifications. Some of the tests that are commonly done include tensile strength tests, flexural strength tests, and electrical insulation tests.
Any defects or non-conformities are identified and corrected as early as possible to avoid wasting time and materials. This helps to ensure that the final product is of high quality and meets the customer's expectations.
Conclusion
So, there you have it! That's how special fiber laminates are manufactured. It's a complex process that involves a lot of steps and careful control to ensure that the final product has the right properties for its intended application.
If you're in the market for special fiber laminates, I'd love to have a chat with you. Whether you need the F897 (Magnetic) Magnetic Laminate, the F828 (CEM-1), or the F862 (EPGM306) Epoxy Glass Mat Products, I can provide you with high-quality products and excellent service. Don't hesitate to reach out for a quote or to discuss your specific requirements.
References
- ASM Handbook, Volume 21: Composites, ASM International.
- Fiber Reinforced Composites: Materials, Manufacturing, and Design, by Isaac M. Daniel and Ori Ishai.
- Composite Materials: Design and Applications, by David Hull and Terry W. Clyne.